How do you eject water from iPhone speaker — modern iPhones feature a stereo speaker system: one bottom-firing speaker near the charging/USB-C port, and one top speaker (part of the earpiece) above the display. Both of these can trap moisture and require treatment.
Although flagship iPhones now carry impressive IP68 water-resistance ratings, the speaker grilles must remain open for sound output—these openings become perfect entry points for liquid. Rain, accidental drops, bathroom steam, even sweat during workouts can introduce moisture into the audio system.
Surface tension allows water droplets to cling to the fine meshes and speaker membranes. Simply waiting for evaporation can take hours or days—far too long given that corrosion can begin within minutes. Meanwhile, water blocking the speaker severely reduces audio quality—calls become muffled, music loses its clarity, and you may even experience complete audio loss in extreme cases. Recognizing the urgency is key: immediate water ejection prevents both the immediate audio problems and longer-term corrosion damage.
The Fastest Method: Using waterejectsound.com
Why this method works best for iPhones
Open Safari (or your web browser) on your iPhone and visit waterejectsound.com. This free online tool works on all models from iPhone 7 through the iPhone 17 series, regardless of size or “Pro” designation.
The tool plays a series of carefully engineered sound frequencies (roughly between 165 Hz and 400 Hz) through your iPhone speakers. These frequencies cause the speaker membrane to vibrate strongly and repeatedly—strong enough to overcome the surface tension holding water droplets in place inside the speaker mesh. Once the droplets are loosened, the vibrations help propel the water out through the speaker grille.
Because all iPhones’ speaker systems share the same acoustic principle, one universal solution applies across models. Moreover, the web-based approach gives you immediate access—no app download, no setup, no pre-configuration. In water-exposure situations, every second counts: the quicker you act, the smaller the risk of internal damage.
Step-by-Step Instructions (for your iPhone)
- Open Safari (or a browser) on your iPhone. If Safari isn’t on your home screen, use Spotlight search to locate it.
- In the address bar type: “waterejectsound.com” and tap Go. The site loads quickly, even on mobile data.
- On the homepage you’ll see a large “Play” button and clear instructions in a minimalist interface designed for emergencies.
- Before you start, remove any protective case. Some cases trap water against the phone and reduce the effectiveness of ejection. Set the case aside to dry separately.
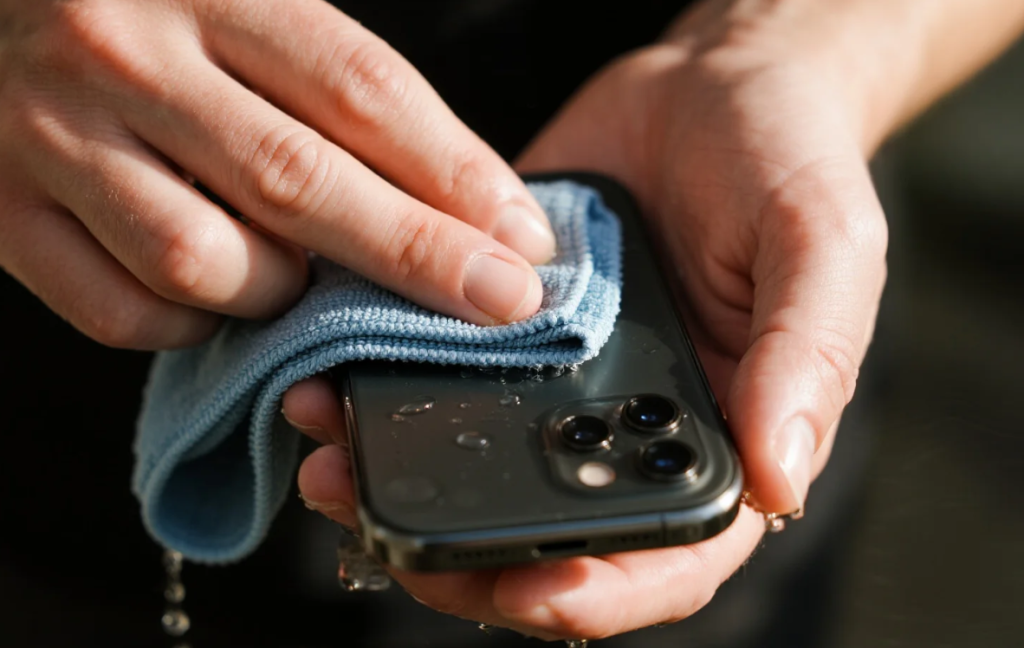
- Wipe the exterior of your iPhone with a clean, dry microfiber cloth (not a regular towel) to remove surface water. Pay attention to the bottom edge (charging port area) and the top bezel near the earpiece.
- Press the Volume Up button until the volume indicator shows 100%. High volume is critical to produce strong speaker membrane vibration. Also confirm the phone isn’t in Silent mode (check the switch above the volume buttons) and that “Do Not Disturb” is off.
- Hold your iPhone so that the bottom speaker grille (near the charging port) is facing downward at roughly a 45-degree angle. This angle helps gravity assist the removal of water once vibrations loosen it, and helps the expelled water drop away rather than relocate inside.
- Tap the Play button on the website. You’ll immediately hear a distinct pulsing tone. Keep the volume at maximum—effectiveness depends on full acoustic power.
- Watch the bottom speaker grille during the 60-second cycle. Within the first 15-30 seconds you should start to see tiny water droplets emerging from the holes.
- Let the full 60-second cycle finish without interruption. After it ends, wait about 30 seconds before starting the next cycle. This short pause allows any loosened but not yet expelled water to migrate toward the grille.
- Repeat the cycle 3 to 4 times for the bottom speaker. With each repetition you’ll likely see more water being expelled than the previous one—this is expected and indicates the method is working.
- Next, treat the top earpiece speaker (which handles phone-call audio). Rotate your iPhone so the top edge faces downward and tilt it again about 45 degrees. Run another 3 to 4 cycles along the same protocol: play the 60-second tone, wait 30 seconds, repeat. Because the earpiece area is smaller, you may see fewer visible droplets—but the process is equally important for restoring clear call audio.
Alternative Method: Siri Shortcuts
If you prefer automation or use this often, you can create a Shortcut via the Shortcuts app:
- Open the Shortcuts app (available on iOS 13+).
- Create a new shortcut: Add Action → Set Volume → 100%.
- Add Action → Play Sound → choose an audio file (you’ll need to source a “water eject” tone file of appropriate frequencies).
- Name your shortcut (e.g., “Eject Water”) and save it.
- To run: either tap it or say, “Hey Siri, Eject Water.”
However: this method takes 15-30 minutes or more to set up (especially sourcing the right audio file), only works on your particular device, and the audio-file quality may vary. In contrast, the web tool works instantly, with professionally calibrated audio and minimal setup.
Understanding iPhone Water Resistance (and its limitations)
The iPhone 17 (and Pro/Max versions) carry an IP68 rating—meaning they’re splash-, water-, and dust-resistant (rated for up to 6 meters of water depth for 30 minutes under IEC standard 60529). Apple+2Apple+2
But: IP68 does not mean waterproof in all real-world conditions. It doesn’t guarantee protection against salt water, high-pressure jets, pool chemicals, or device wear.
Importantly: the speaker grilles themselves remain vulnerable—because they must allow sound out, they are open pathways for water in. Even with IP68 protection, water can enter the speaker chamber. Also: Apple’s warranty explicitly excludes liquid damage—even for IP-rated devices. Over time, water resistance can degrade with normal use, impacts, temperature changes and port wear.
What Not to Do After iPhone Water Exposure
- Don’t use rice: The “rice method” remains popular but is ineffective for removing water from speaker cavities. Rice merely absorbs ambient humidity—not water trapped in speaker meshes—and rice dust can enter ports and damage the device. Many tests show more residue and issues in rice-dried devices.
- Avoid heat sources: Hair dryers, direct sunlight, car dashboards—these may accelerate drying superficially but risk overheating, warping plastics, damaging batteries or screens. Heat does not mechanically eject water and may cause worse internal damage.
- Don’t plug in / charge while wet: Water conducts electricity—connecting a charging cable (USB-C or Lightning) or using wireless charging when internal moisture remains is a serious risk. Even if the speaker sounds clear, moisture may be trapped near the charging coil or port. Wait at least 24 hours and ensure dryness.
Verifying Effectiveness
- Audio quality test: First play spoken-word content (podcasts, audiobooks) where you’re familiar with how voices should sound. Clear, undistorted speech means likely success. If voices sound muffled or “underwater,” more moisture likely remains.
- Then play music with wide-range instrumentation (bass, mids, treble). If sound is clear without distortion up to high volumes (80-100 %), you’re in good shape. Crackling or distortion at high volume can mean residual water.
- Visual & tactile inspection: Use bright angled lighting or a flashlight to inspect both speaker grilles for visible droplets or sheen. Feel around ports and frames—for coolness or dampness may indicate evaporation in progress.
- Call test: Make a phone call and check the earpiece audio (top speaker). If call audio is muffled even while media playback sounds fine, the top earpiece likely still has residual moisture.
Advanced/Severe-Exposure Protocol
For cases where the iPhone was submerged or exposed extensively:
- Run the ejection cycle every 30 minutes for the first 3 hours. Between cycles, place the iPhone speaker-down on a clean microfiber cloth to allow gravity-assisted drainage.
- After that 3-hour window, reduce the frequency to every 2-3 hours for the remainder of the first day.
- After 24 hours, run one final verification cycle and testing routine.
- Between cycles: keep the iPhone in a warm (21-24 °C / 70-75 °F), dry, low-humidity environment. Use gentle air circulation (a small fan) and/or a dehumidifier (not directed high-speed-air at the device) to encourage evaporation without heat damage.
When to Seek Professional Service
DIY ejection works for most water-exposure incidents—but certain symptoms call for professional help (e.g., via an authorized Apple service provider):
- No audio output from one or both speakers after multiple ejection attempts (suggesting driver failure or corrosion).
- Audio distortion worsening over time rather than improving (indicating progressive internal corrosion).
- Burning or electrical smell after exposure (indicating internal short-circuit risk)—turn it off and get it serviced ASAP.
- Display issues following exposure (water spots under screen, dead pixels, malfunctioning sensor) which indicate deeper moisture intrusion into the display assembly.
Repair costs can escalate—what starts as a speaker issue might evolve into logic-board or battery damage.
Why Acting Quickly Matters
Your iPhone can often fully recover from water exposure if you act swiftly with an effective method. The free online tool (waterejectsound.com) offers instant water ejection across all iPhone models. Time is of the essence: every minute that water remains inside increases the risk of corrosion and permanent damage.
In contrast, sub-optimal methods (rice, heat, passive drying) waste precious time and leave you exposed to ongoing risk. By acting promptly, you preserve your device’s performance and avoid expensive repair bills.
FAQ
Q: How do I eject water from my iPhone speaker quickly?
A: Use waterejectsound.com via Safari: set the volume to maximum, hold your iPhone at a 45° downward angle (speaker facing down), and tap Play. Run the 60-second cycle 3-4 times for the bottom speaker, then rotate the phone and repeat 3-4 cycles for the top earpiece. Works with all iPhones from iPhone 7 through iPhone 17.
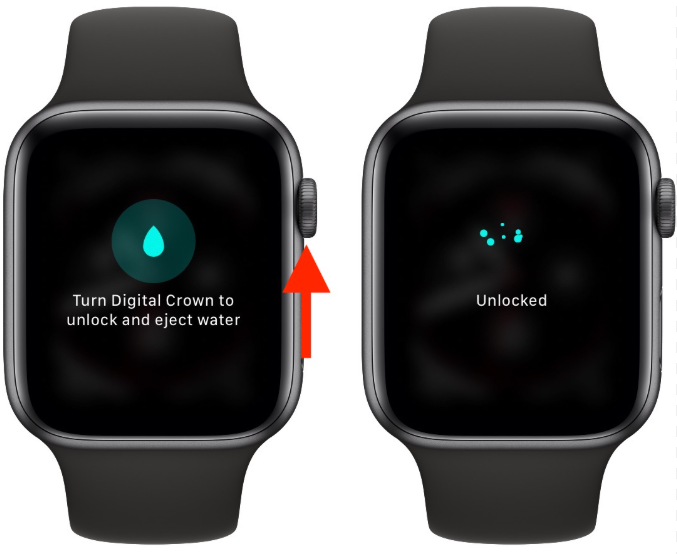
Q: Does the iPhone have a built-in “water eject” feature like some smartwatches?
A: No. iPhones do not have a native built-in water eject function. There’s no setting or button in iOS specifically for that. You can create a Siri Shortcut, but that takes setup time. Visiting the webpage is effectively the fastest universal solution.
Q: How do I dry my iPhone speaker after water exposure?
A: Use acoustic ejection first, then place the iPhone in a warm, dry environment (70-75 °F / 21-24 °C) with gentle airflow, speakers facing downward, avoid rice, avoid high heat, and wait 24 hours before charging. Test audio thoroughly.
Q: Can I use Siri voice command to eject water?
A: Only after you set up a custom Shortcut—then you can say “Hey Siri, run [Eject Water]”. But because this requires setup and an audio file, the web method remains far quicker and more universal.